

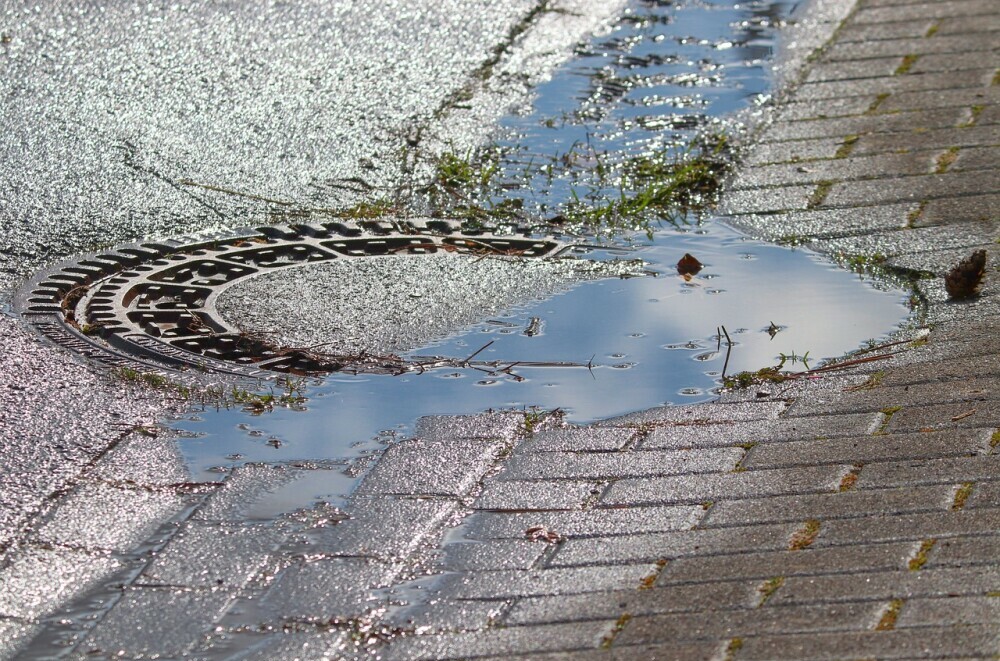
Understanding the Common Causes of Shower Drain Clogs

Introduction to hair and soap buildup:
Hair and soap buildup in drains occur over time as hair, soap residue, dirt, and other particles accumulate and stick to the walls of drain pipes. This buildup can cause slow drainage, foul odors, and eventually lead to clogs if not addressed. Ziptits or Zip-its sre the best tools for hair removal. Be wary. The low quality cheaper ones may break in the drain more easily and require a significant more amount of work to unclog.
Roles of oils and other debris in clogging:
Oils from shampoos, conditioners, and other hair products can combine with hair to form sticky clumps that adhere to the inside of pipes. Additionally, other debris like dirt, skin cells, and soap residue can further contribute to the blockage, creating a perfect environment for clogs to form.
This black gunky stuff will be referred to as “scum.”
Preventative measures to reduce clogging incidents:
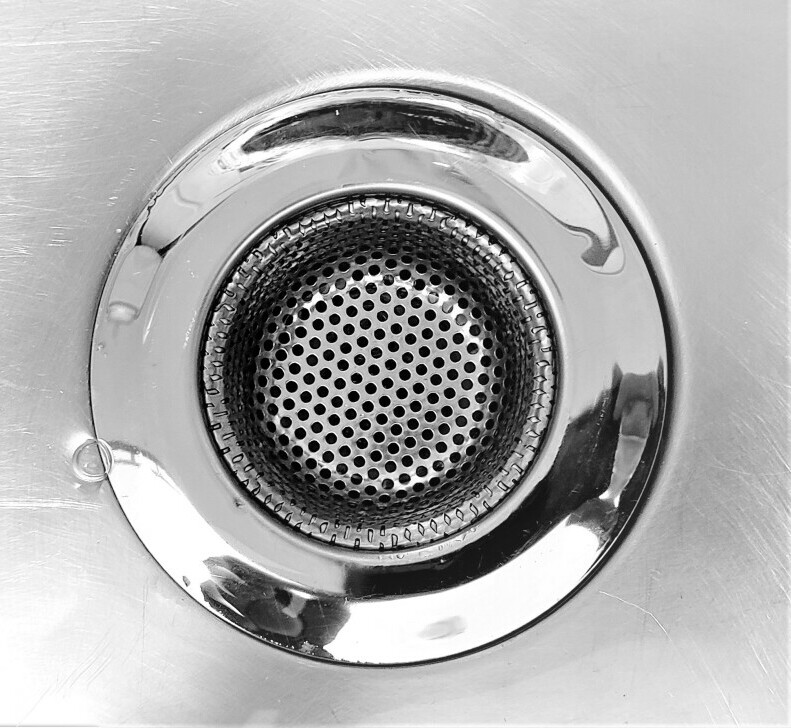
1. Use a drain strainer: Placing a drain strainer or hair catcher over your shower or sink drains can help trap hair and larger debris before they enter the pipes.
2. Regular cleaning: Regularly cleaning your drains with a mixture of hot water and vinegar can help dissolve and wash away buildup before it becomes a major clog.
3. Avoid pouring grease down the drain: Grease can solidify in pipes and contribute to clogs over time, so it’s important to dispose of grease properly in the trash.
4. Use enzyme-based cleaners: Enzyme cleaners can break down organic matter like hair and soap scum, helping to prevent clogs from forming.
5. Professional maintenance: Consider scheduling professional drain cleaning services periodically to remove stubborn buildup and ensure your pipes are in good condition.
By being proactive and implementing these preventative measures, you can reduce the likelihood of clogs due to hair and soap buildup in your drains.
Preparation: Safety and Tools for Effective DIY Unclogging
Importance of proper protective gear:
When unclogging drains, it’s essential to prioritize safety by wearing proper protective gear. This can include rubber gloves to protect your hands from chemicals and bacteria, safety goggles to shield your eyes from splashing debris, and a mask to prevent inhalation of fumes or particles. Proper protective gear not only minimizes the risk of exposure to harmful substances but also reduces the chances of accidents or injuries during the unclogging process.
Overview of essential tools and household items for unclogging:
– Plungers:
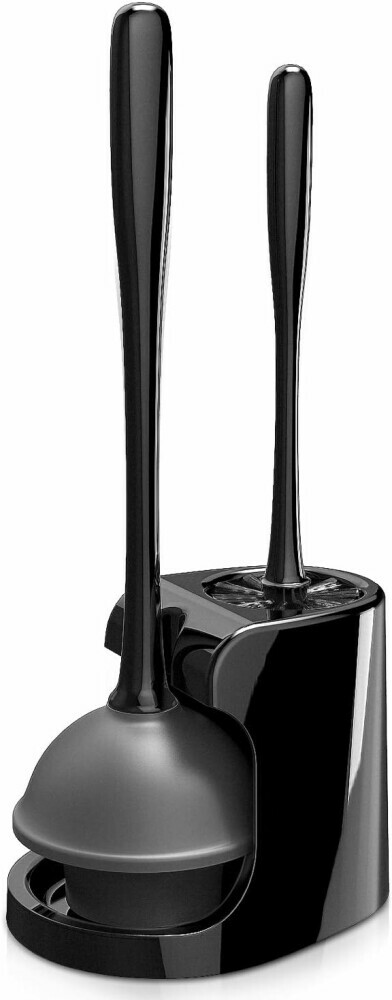
A sink or toilet plunger is a versatile tool for unclogging drains by creating suction pressure to dislodge blockages.
– Drain snake or auger:

These tools are useful for reaching deep clogs that a plunger can’t clear, especially in bathroom drains and toilets.
– Drain cleaners:

Consider keeping a mild chemical drain cleaner or a natural alternative like baking soda and vinegar on hand to break down organic matter and clear minor clogs.
– Wet/dry vacuum:
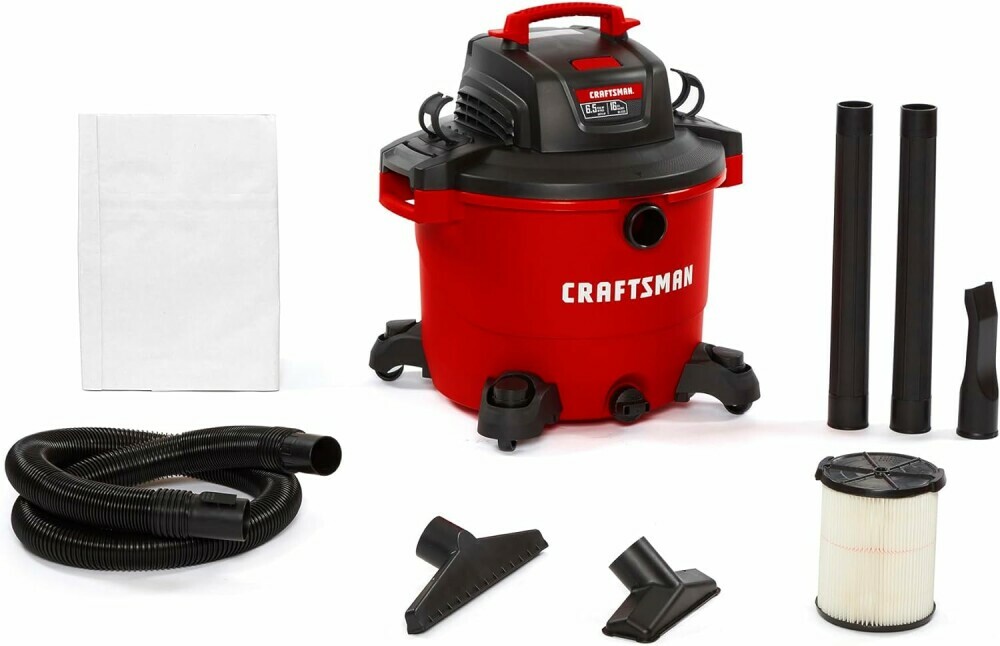
A wet/dry vacuum can be used to remove standing water from clogged drains before attempting to unclog them.
Organizing your workspace for safety and efficiency:
– Clear the area: Remove any clutter or obstacles from around the drain to ensure easy access and movement during the unclogging process.
– Have a designated work area: Designate a specific area near the drain for organizing your tools and supplies. This helps prevent tripping hazards and allows for easy access to what you need.
– Use proper lighting: Ensure the workspace is well-lit to properly inspect the drain and see what you’re doing. Additional lighting sources like flashlights or work lamps can be helpful.
– Establish a clear plan: Before starting, have a clear plan of action for unclogging the drain, including the tools you’ll use and the steps you’ll take. This can help streamline the process and prevent mistakes.
By emphasizing safety, having the right tools on hand, and organizing your workspace effectively, you can unclog drains efficiently while minimizing risks and ensuring a successful outcome.
The Boiling Water Method: A Quick Fix for Minor Clogs

Step-by-step guide to unclogging with hot water:
1. Boil water: Start by boiling a pot of water on the stove or using a kettle until it reaches a rolling boil.
2. Pour hot water down the drain: Carefully pour the hot water directly down the clogged drain in a slow, steady stream. Be cautious not to splash hot water onto yourself.
3. Allow hot water to work: Let the hot water sit in the drain for several minutes to help loosen and dissolve any buildup or blockages.
4. Test the drain: After a few minutes, run some cold water down the drain to see if the clog has cleared. If the water drains more quickly or no longer pools, the hot water method may have been successful.
When to use this method:
– The hot water method is best suited for minor clogs caused by grease, soap residue, or light buildup in the pipes.
– It can also be effective for periodic maintenance to prevent clogs from forming, especially in kitchen sinks where grease tends to accumulate.
Safety precautions when handling boiling water:
– Handle with caution: Boiling water can cause serious burns, so be extremely careful when carrying and pouring it. Use heat-resistant gloves or mitts to protect your hands.
– Avoid splashing: Slowly pour the hot water down the drain to prevent splashing onto yourself. Keep a safe distance to minimize the risk of burns.
– Use appropriate containers: Use a sturdy pot or kettle designed for boiling water to avoid accidents like spills or breakage.
– Keep children and pets away: Ensure a safe distance between children, pets, and the boiling water to prevent accidental burns or injuries.
Natural Solutions: Using Baking Soda and Vinegar

The chemical reaction between baking soda and vinegar:
– When baking soda (sodium bicarbonate) and vinegar (acetic acid) are combined, they undergo a chemical reaction that produces carbon dioxide gas, which creates fizzing and bubbling.
– The reaction also forms water and sodium acetate. The fizzing action helps break down and dislodge debris, grease, and small clogs in drain pipes.
Detailed instructions for employing this method:
1. Start by pouring about a cup of baking soda down the drain.
2. Follow this by pouring a cup of vinegar down the drain.
3. Immediately cover the drain opening with a plug or a cloth to contain the fizzing action.
4. Let the mixture sit for about 30 minutes to an hour to allow the reaction to break down the clog.
5. After the waiting period, flush the drain with hot water to wash away the dissolved debris and clear the drain.
Environmental benefits of opting for natural cleaners:
– Baking soda and vinegar are natural, biodegradable cleaners that do not contain harsh chemicals, making them safer for the environment.
– They are non-toxic and pose no threat to aquatic life or ecosystems when washed down drains. – Using natural cleaners reduces the release of harmful chemicals into water systems, contributing to a healthier and more sustainable environment.
– Natural cleaners are often produced in eco-friendly packaging and are less harmful to both human health and the environment compared to traditional chemical cleaners.
By utilizing the chemical reaction between baking soda and vinegar, following the detailed instructions provided, and opting for natural cleaners, you can effectively clear clogs in a drain while promoting environmental sustainability and reducing your carbon footprint.
Plunge into Action: Manual Unclogging with a Plunger
Choosing the right plunger for your shower drain:
– Utilize for a cup plunger: Cup plungers are often the best choice for shower drains due to their flexible design and ability to create a strong seal over the drain opening. Beware that a cup plunger is designed to suck the clog back out, not push it through.
– Make sure the plunger has a flat and smooth bottom to effectively cover the drain and create suction for plunging.
– Choose a plunger with a handle that is comfortable for you to grip and use with enough force to clear the clog.
Tips and techniques for effective plunging:
1. Ensure the plunger cup completely covers the drain opening to create a seal.
2. Fill the shower base with enough water to cover the plunger cup for better suction.
3. Hold the plunger upright and plunge vigorously up and down several times to dislodge the clog.
4. Repeat the plunging motion multiple times, checking periodically to see if the water starts to drain properly.
5. If needed, continue plunging or alternate between plunging and pouring hot water down the drain to help clear the clog.
Aftercare: Ensuring the clog is completely cleared:
1. Test the drain: After plunging, run some water to check if the clog has been cleared. If the water drains smoothly, the clog is likely removed.
2. Remove any debris: Use a drain strainer or a tool to remove any remaining debris or hair that may have been dislodged during plunging.
3. Flush the drain: To ensure the clog is completely cleared, flush the drain with hot water for a few minutes to wash away any remaining residue.
By selecting the right plunger, employing effective plunging techniques, and following up with proper aftercare, you can successfully clear clogs in your shower drain. Remember to be patient and persistent, especially for stubborn clogs, and always take precautions to prevent further blockages in the future.
When to Call the Professionals: Recognizing Stubborn Clogs

Signs that DIY methods aren’t enough:
- – Recurring clogs: If you find yourself dealing with repeated clogs in the same drain despite DIY efforts, it may indicate a deeper issue that requires professional attention.
- – Slow drainage: Persistent slow drainage even after attempting DIY unclogging methods could signal a more severe blockage or buildup further down the drain pipe.
- – Foul odors: Unpleasant odors emitting from drains, even after cleaning, might suggest a hidden blockage or sewer line issue that requires professional inspection.
- – Gurgling sounds: If you hear gurgling noises coming from your drains, it could indicate a serious clog or ventilation problem within your plumbing system.
The benefits of professional drain cleaning:
– Thorough inspection: Professional plumbers use specialized tools like cameras to inspect the inside of pipes and identify the root cause of the clog or drainage issue.
– Advanced equipment: Professionals have access to high-powered drain snakes, hydro-jetting equipment, and other tools that can effectively clear tough clogs and buildup.
Preventing damage:
DIY methods can sometimes lead to damaging pipes if used incorrectly, whereas professionals have the expertise to clear drains without causing harm.
– Long-term solutions: Professional drain cleaning can provide lasting results by addressing underlying issues and preventing future clogs or drainage problems. Preventing future clogs with professional advice:
– Proper maintenance: Professionals can offer guidance on how to maintain your plumbing system, such as regular drain cleaning schedules and using drain guards or covers.
– Lifestyle changes: Professionals can advise on habits to prevent clogs, such as avoiding pouring grease down drains, using hair catchers in showers, and being mindful of what goes down the garbage disposal.
– Regular inspections: Scheduling routine inspections with a professional plumber can help catch potential issues early and prevent major clogs or plumbing emergencies.
By recognizing when DIY methods may not suffice, understanding the benefits of professional drain cleaning, and following professional advice for preventing future clogs, you can maintain a healthy plumbing system and avoid costly repairs in the long run.